Beamsplitters in Microscopes: Microscopes are essential tools in scientific research and medical diagnosis. Trinocular microscopes, in particular, have become increasingly popular due to their ability to capture images and videos. One of the crucial components of a trinocular microscope is the beam splitter. In this article, we will discuss the importance of the beam splitter and how it affects the quality of the images and videos captured.
Beamsplitter Function
A beam splitter is an optical device that splits a light path into two or more paths. In microscopy, the beam splitter is used to split the light path of the microscope to allow a camera, digital camera, or an assistant scope to be attached to it. The beam splitter can have one or two ports, depending on the application.
The beam splitter in a trinocular microscope controls the amount of light that travels up to the camera on the trinocular port. When light enters the microscope, it is split into two paths – one path goes to the eyepieces, and the other path goes to the camera. The beam splitter controls how much light is sent to the camera, which ultimately affects the quality of the image or video captured.

Types of Beamsplitters
There are different types of beam splitters available, depending on the type of work you perform with the microscope. The most common types are the 50/50 beam splitter and the 70/30 beam splitter. The 50/50 beam splitter sends equal amounts of light to the eyepieces and the camera, making it suitable for general observations. The 70/30 beam splitter sends more light to the camera, making it ideal for capturing images and videos.
The beam splitter works by reflecting a portion of the light that enters it and transmitting the rest. The amount of light that is reflected and transmitted depends on the split ratio of the beam splitter. For example, a 50:50 beam splitter splits the light equally between the main binoculars and the attachment, while a 70:30 beam splitter directs 70% of the light to the main binoculars and 30% to the attachment.
Choosing The Right Beamsplitter
Choosing the right beam splitter for your trinocular microscope depends on the type of work you perform. If you are using the microscope for general observations, a 50/50 beam splitter will suffice. However, if you need to capture high-quality images or videos, an 70/30 beam splitter is recommended.

Check out this link here to examine different types of microscopes.
Not Having A Beamsplitter
Some trinocular microscopes do not have a beam splitter, and in that case, light is being sent 50% to the eyepieces and 50% to the camera at all times. This setup is suitable for general observations but may not produce high-quality images or videos.
Considerations for Choosing a Beam Splitter
The beam splitter is an essential component in microscopy because it allows researchers to capture and record the images seen through the microscope. With the attachment of a camera or digital camera, researchers can document their findings and share them with other researchers. The assistant scope, on the other hand, allows an assistant to view the same image as the main observer, making it easier for them to communicate and work together.
When choosing a beam splitter, it is important to consider the type of work you wish to perform. If you need to view the specimen while the camera is engaged, make sure the beam splitter still provides some light to at least one of the eyepieces. This will allow you to continue observing the specimen while capturing images or videos.
Additionally, if you are looking to produce high-quality printed images from your microscope, it is important that the beam splitter has a setting that will send all of the light to the camera. This will ensure that the camera captures the highest quality image possible, which can be used for further analysis or publication.
Understanding the type of beam splitter your microscope has is important for determining the type of work you can perform. Whether you need to view the specimen while capturing images or produce high-quality printed images, choosing the right beam splitter can greatly impact the success of your research. Be sure to consider your specific needs and consult with experts if necessary to ensure you choose the right beam splitter for your microscope.

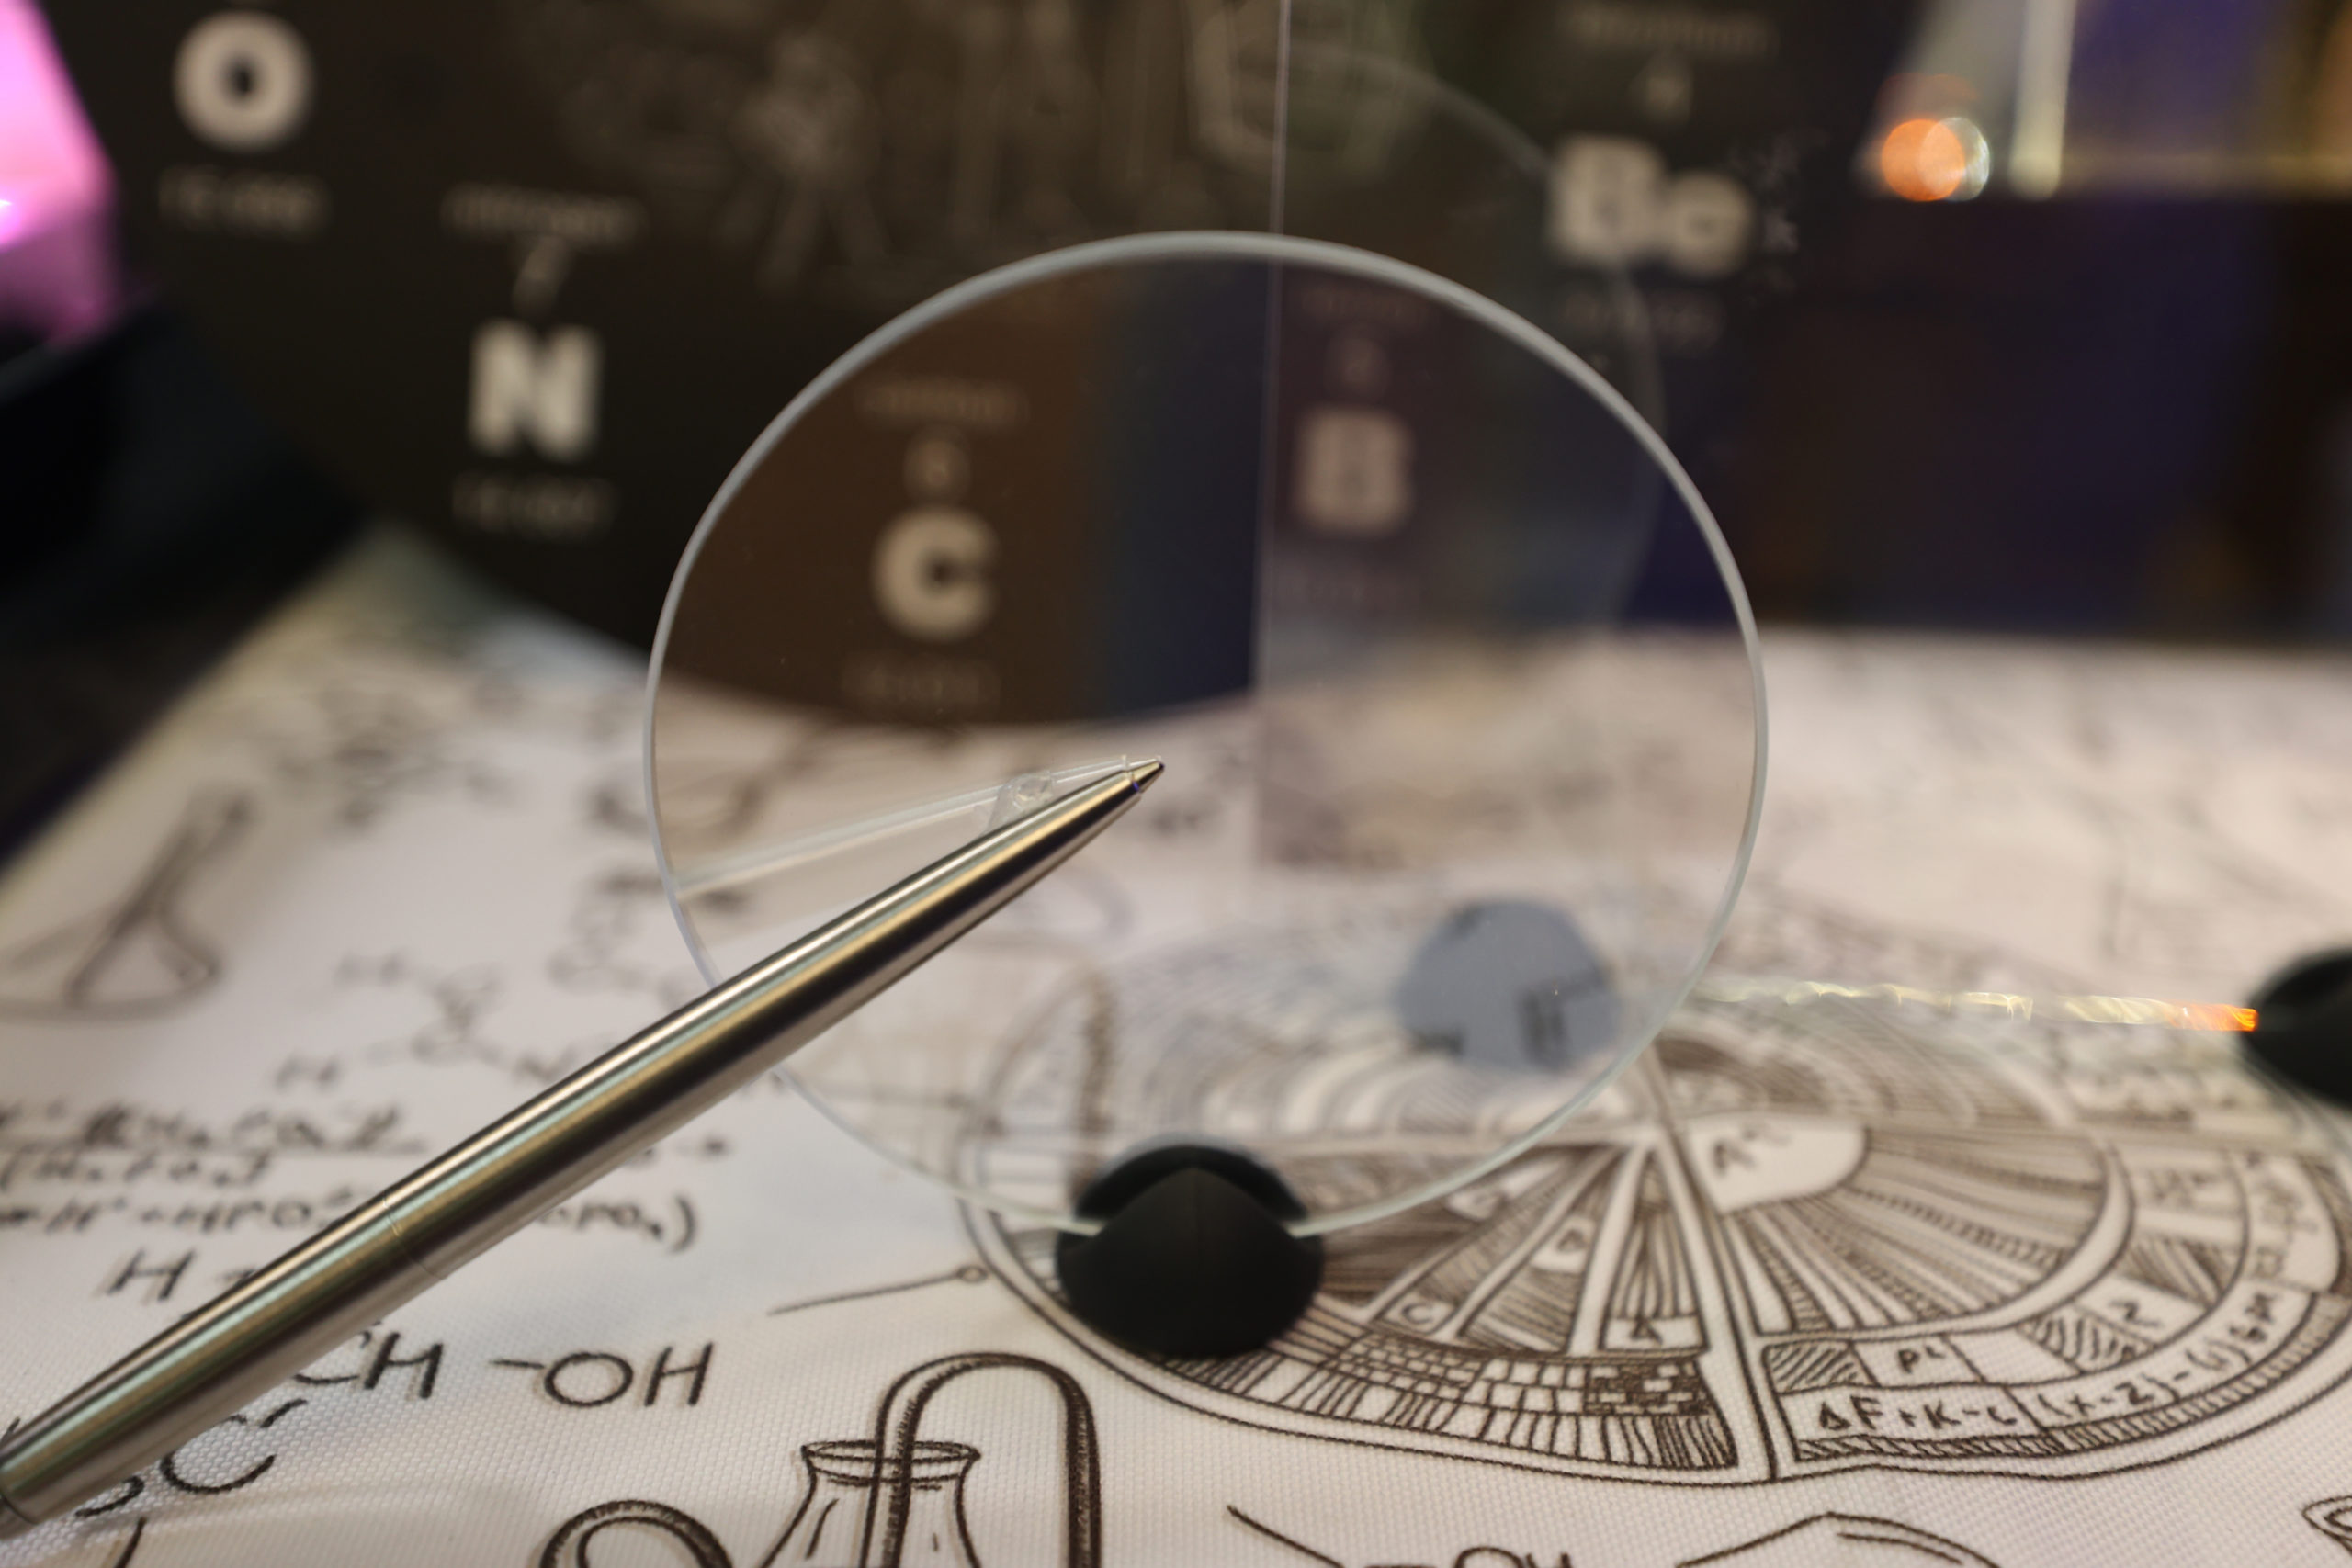
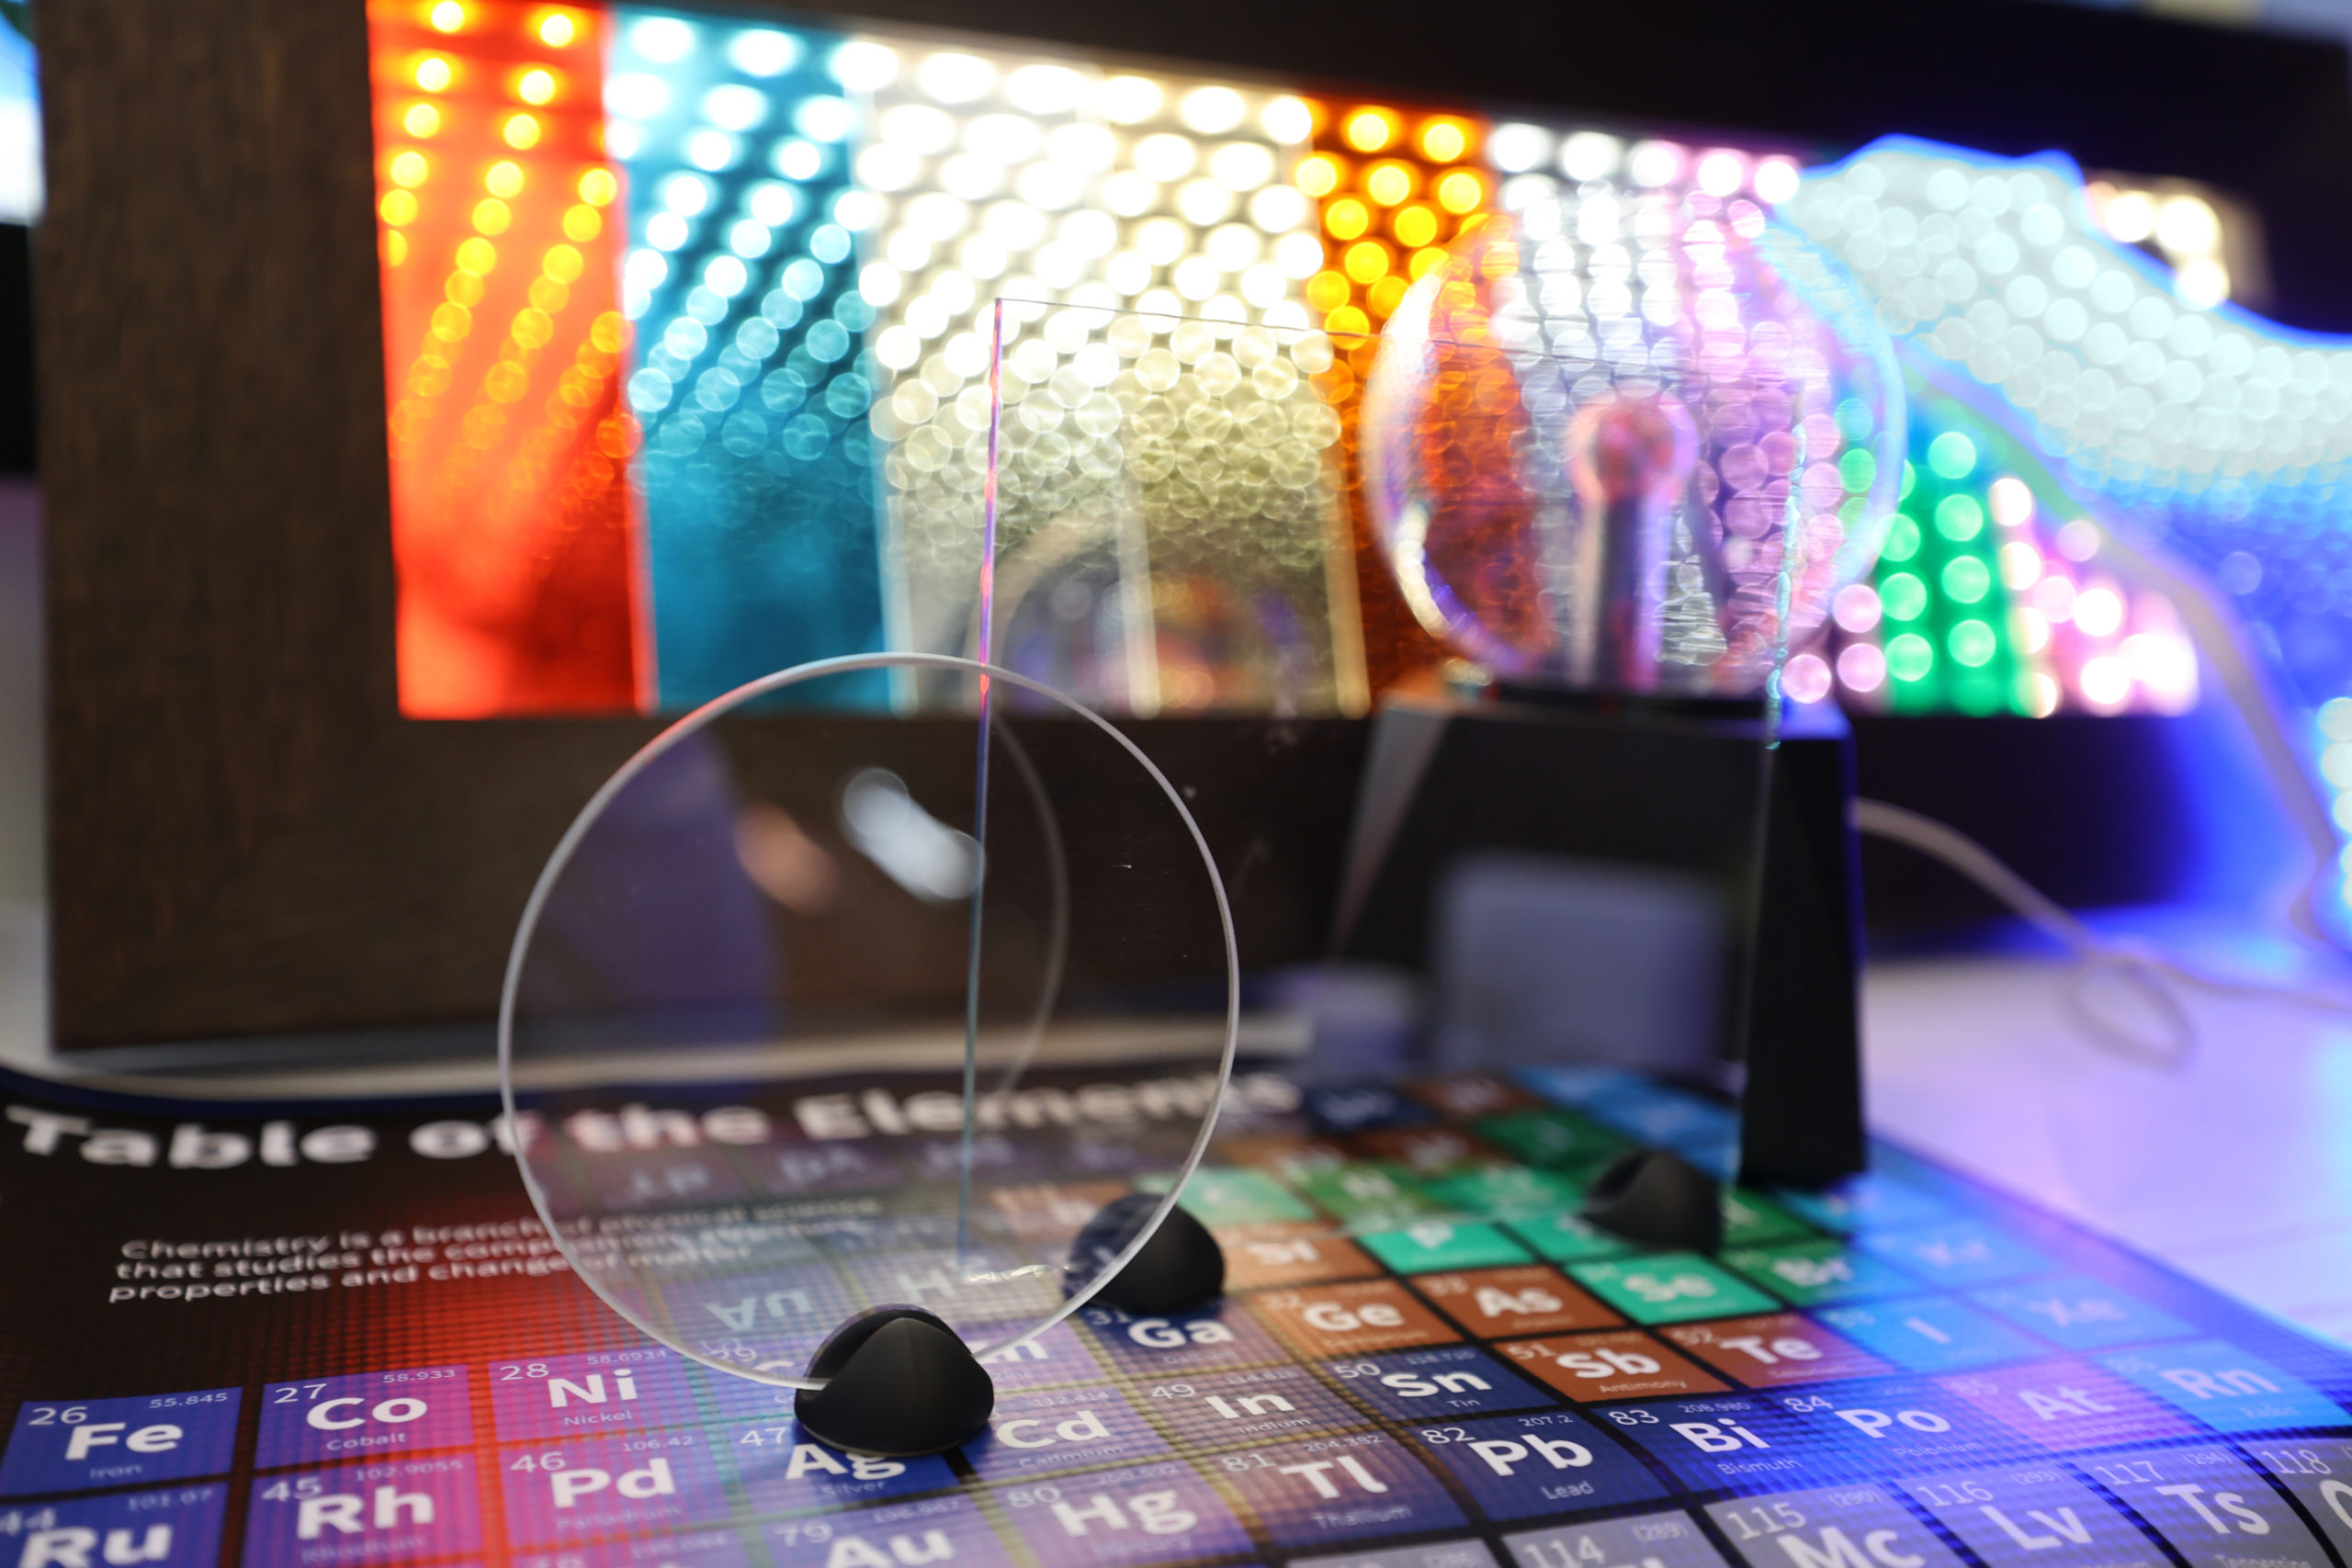
You can purchase Beamsplitter glass from us!
Microscope Beamsplitter Tips and Tricks
Have you ever used a microscope camera and found yourself unable to see the image on your camera or computer monitor? It can be frustrating, but don’t worry – it’s a common issue that can be easily remedied.
One possible reason for this problem is that you may have forgotten to engage the beam splitter. The beam splitter is an essential component that splits the light from the microscope to send it to both the eyepieces and the camera. If the beam splitter is not engaged, no light will travel to the camera, and you won’t be able to see your image.
To engage the beam splitter, you need to know the specific mechanism of your microscope. For instance, the FZ6 stereo microscope shown in the image above has a slightly different beam splitter than other microscopes. On this microscope, the beam splitter is engaged by sliding a lever to the right or left.
Here are some additional tips to ensure your microscope camera is working correctly:
Check Your Connections
Before you start using your microscope camera, make sure that all connections are secure. Check that the camera is properly connected to the microscope, and that the cables are not loose or damaged. If you’re using a wireless connection, ensure that the camera is connected to the correct Wi-Fi network.
Adjust the Camera Settings
Another possible reason why you’re not seeing any image on your camera or computer monitor is that the camera settings may need to be adjusted. Check that the camera is set to the correct resolution, and that the focus and exposure settings are correct. Adjusting these settings can help improve the quality of your images.
Clean the Lens
If the lens is dirty, it can also affect the quality of the image. Make sure to clean the lens regularly with a soft cloth or lens cleaning solution. Avoid using harsh chemicals or abrasive materials that could scratch the lens.
Adjusting the Balance and Tension Settings
The addition of accessories to an operating microscope can affect its balance and tension settings, which can have a significant impact on the surgeon’s ability to perform precise and accurate procedures. It is essential to adjust these settings to ensure that the microscope is stable and easy to move during surgery.
The weight that a suspension arm can effectively hold is usually labeled on the arm itself or can be found in the microscope’s user manual. It is important to adhere to these weight limits to prevent damage to the microscope and to ensure the safety of the surgeon and patient.
Assistant Scopes and Beam Splitters
Assistant scopes and beam splitters are essential accessories for effective microsurgical training. Without these tools, it is challenging for the surgeon to see what the trainee is doing, making it difficult to provide feedback and guidance.
Removing Accessories
If you are not planning to use an assistant scope or camera, it is always a good idea to remove the beam splitter and assistant microscope, camera, or other attachment. This can help improve image brightness and reduce the weight on the suspension arm.
In conclusion, if you’re having trouble seeing images on your microscope camera or computer monitor, it’s likely due to a simple issue such as forgetting to engage the beam splitter. By following the tips outlined in this article, you can troubleshoot and solve the problem, and get back to exploring the microscopic world.
